Welcome to our comprehensive guide on soap/lotion dispenser pump assembly. In this blog post, we will delve into the intricacies of assembling and maintaining these essential bathroom accessories. Whether you are a DIY enthusiast or a professional plumber, this guide will provide you with all the information you need to ensure a smooth and efficient assembly process. So, let’s dive in!
Understanding Soap/Lotion Dispenser Pump Assembly:
1.1 What is a Soap/Lotion Dispenser Pump?
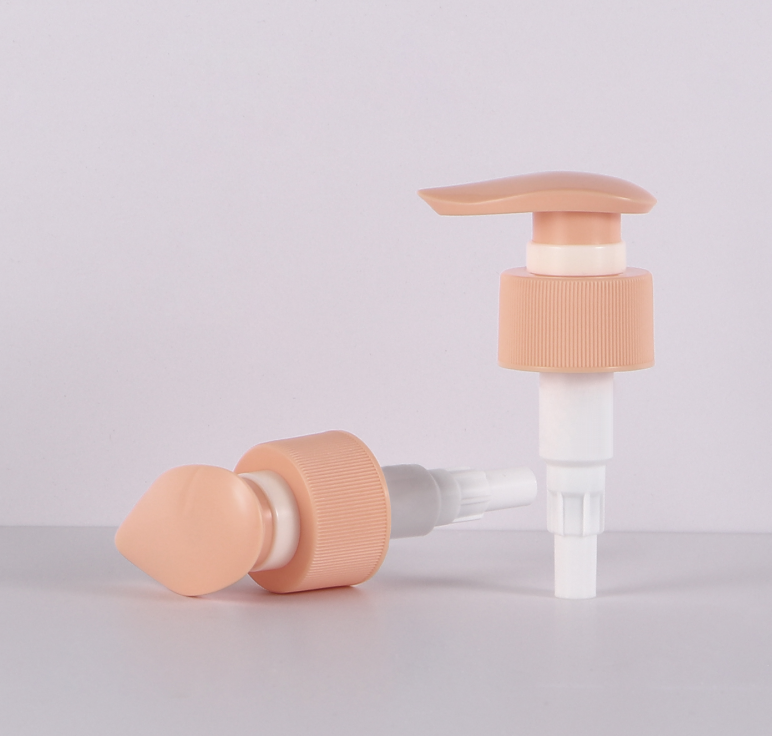
A soap/lotion dispenser pump is a mechanism that allows the controlled release of liquid soap or lotion from a dispenser bottle. It consists of several components, including the pump head, pump mechanism, and dip tube.
1.2 Importance of Proper Assembly:
Proper assembly of the soap/lotion dispenser pump ensures smooth operation and prevents leaks or malfunctions. It is crucial to follow the correct assembly process to ensure the longevity and functionality of the dispenser.
Tools and Materials Required:
2.1 Essential Tools: To assemble a soap/lotion dispenser pump, you will need a few basic tools such as a screwdriver, pliers, and a wrench.
2.2 Required Materials: Apart from the tools, you will also need the dispenser bottle, pump mechanism, pump head, dip tube, and any additional accessories or gaskets provided with the pump assembly kit.
Step-by-Step Soap/Lotion Dispenser Pump Assembly Guide:
3.1 Preparing the Dispenser Bottle: Start by cleaning the dispenser bottle thoroughly and ensuring it is dry. Attach the dip tube to the pump mechanism and insert it into the bottle, ensuring it reaches the bottom.
3.2 Attaching the Pump Mechanism: Secure the pump mechanism to the bottle by twisting it clockwise until it is tightly sealed. Ensure that the dip tube is not bent or kinked.
3.3 Securing the Pump Head: Attach the pump head to the pump mechanism, aligning the grooves or notches. Twist it clockwise until it is firmly in place.
3.4 Testing the Dispenser: Fill the dispenser bottle with soap or lotion and test the pump by pressing it down. Ensure that the liquid is dispensed smoothly without any leaks or blockages.
Troubleshooting Common Soap/Lotion Dispenser Pump Assembly Issues:
4.1 Leaking Dispenser: If the dispenser is leaking, check for loose connections or damaged gaskets. Tighten all the components and replace any faulty gaskets.
4.2 Pump Not Dispensing Properly: If the pump is not dispensing properly, remove the pump head and check for any blockages or clogs. Clean the pump mechanism and dip tube thoroughly.
4.3 Pump Sticking or Jamming: If the pump is sticking or jamming, disassemble the pump head and clean all the components. Lubricate the moving parts with a silicone-based lubricant if necessary.
Maintenance and Cleaning Tips on Soap/Lotion Dispenser Pump Assembly:
5.1 Regular Cleaning Routine: Clean the dispenser pump regularly to prevent the buildup of soap scum or lotion residue. Disassemble the pump and soak the components in warm soapy water. Scrub off any residue and rinse thoroughly before reassembling.
5.2 Preventing Clogs and Blockages: To prevent clogs, avoid using thick or chunky soaps or lotions that may cause the pump to clog. Dilute thick products with water if necessary.
5.3 Replacing Worn-out Parts: Over time, certain components of the dispenser pump may wear out. Replace worn-out parts such as gaskets or the pump mechanism to ensure optimal performance.
Choosing the Right Soap/Lotion Dispenser Pump Assembly:
6.1 Types of Dispenser Pumps:
Push-Down Pumps: Push-down pumps are the most common type of dispenser pumps. They require manual pressure on the pump head to dispense the soap or lotion. These pumps are easy to use and provide a controlled amount of product with each press. Push-down pumps are suitable for a wide range of viscosities, from thin liquid soaps to thicker lotions.
Twist Pumps: Twist pumps, also known as screw pumps, require a twisting motion to dispense the product. They have a threaded pump head that is twisted clockwise to release the soap or lotion. Twist pumps are often used for thicker lotions or creams that may require a bit more force to dispense. They provide a precise and controlled amount of product with each twist.
Sensor-Activated Pumps: Sensor-activated pumps are a more advanced option that uses infrared sensors to detect the presence of a hand and automatically dispense the soap or lotion. These pumps are touchless and hygienic, as they eliminate the need for physical contact. Sensor-activated pumps are commonly found in public restrooms or high-end residential settings. They are suitable for both liquid soaps and lotions.
6.2 Factors to Consider:
Viscosity: The viscosity of the soap or lotion is an important factor to consider when choosing a dispenser pump. Thicker lotions may require a pump with a larger opening or a twist pump mechanism to ensure smooth dispensing. Thin liquid soaps can be easily dispensed with a push-down pump.
Dispensing Volume: Consider the desired amount of product you want to dispense with each pump. Some pumps are designed to release a small amount of product, while others can dispense a larger volume. Choose a pump that suits your usage requirements.
Design and Aesthetics: The design and aesthetics of the dispenser pump should complement the overall style of your bathroom or kitchen. Dispenser pumps come in various finishes, such as chrome, stainless steel, or plastic. Consider the design elements and choose a
Frequently Asked Questions (FAQs):
Q1: Can I use the same pump for soap and lotion dispensers?
- Yes, you can use the same pump for soap and lotion dispensers, but consider the viscosity of the products.
Q2: How often should I clean the dispenser pump?
- Clean the dispenser pump at least once a month, or more frequently if needed.
Q3: Can I replace a faulty pump on my own?
- Yes, you can replace a faulty pump on your own, but refer to the manufacturer’s instructions for guidance.
Conclusion: In conclusion, proper assembly and maintenance of soap/lotion dispenser pumps are essential for their efficient and long-lasting operation. By following the step-by-step guide provided in this blog post, you can ensure a hassle-free assembly process and enjoy the convenience of a functional dispenser. Remember to regularly clean and maintain the pump to prevent any issues and enjoy a hygienic and convenient handwashing experience.