A soap dispenser pump is an essential component of any kitchen sink, providing convenience and hygiene while washing dishes or hands. However, over time, these pumps can become faulty, leading to issues such as leaks, clogs, or inconsistent soap dispensing. In such cases, a replacement pump becomes necessary to restore the functionality of the soap dispenser. This blog post aims to provide a comprehensive guide on choosing, replacing, and maintaining a replacement soap dispenser pump for kitchen sink.
I. Understanding Soap Dispenser Pumps:
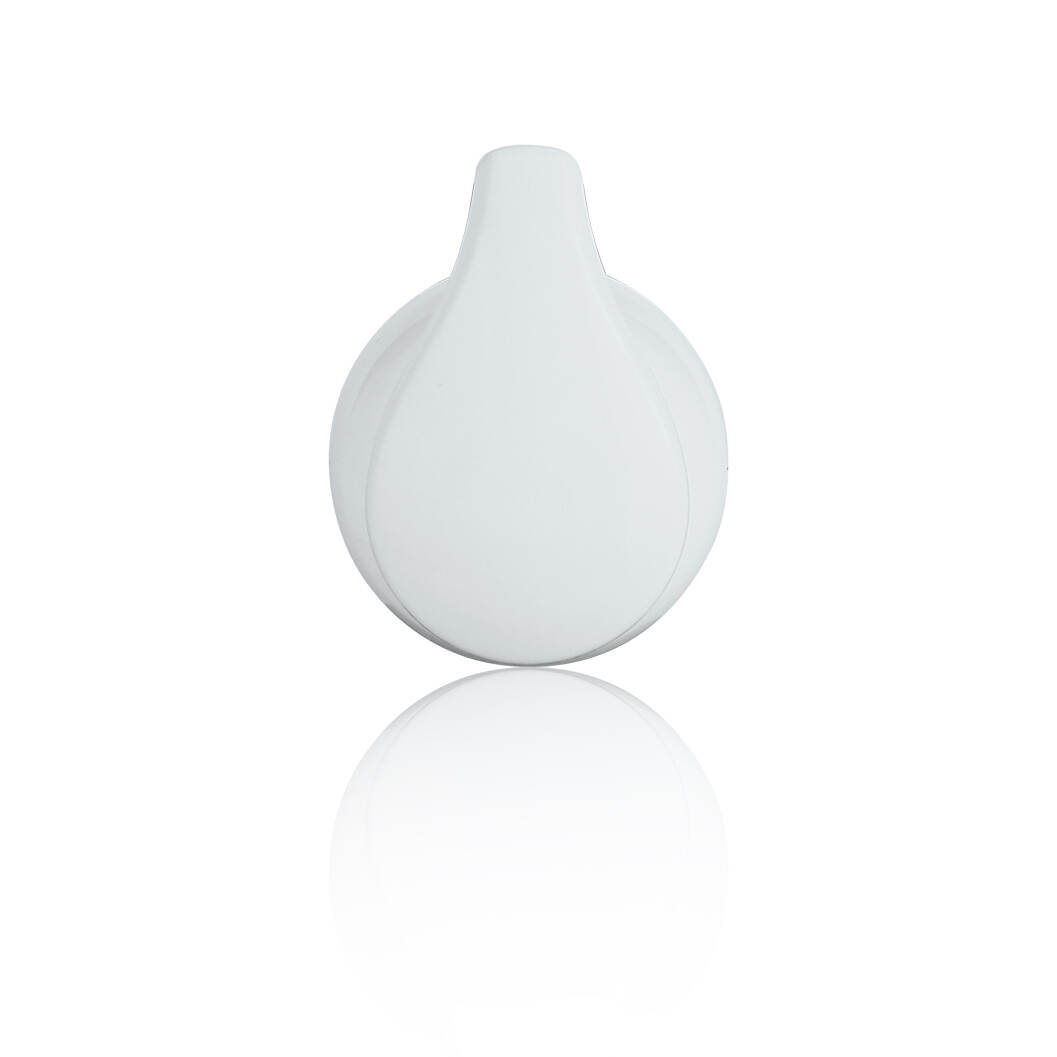
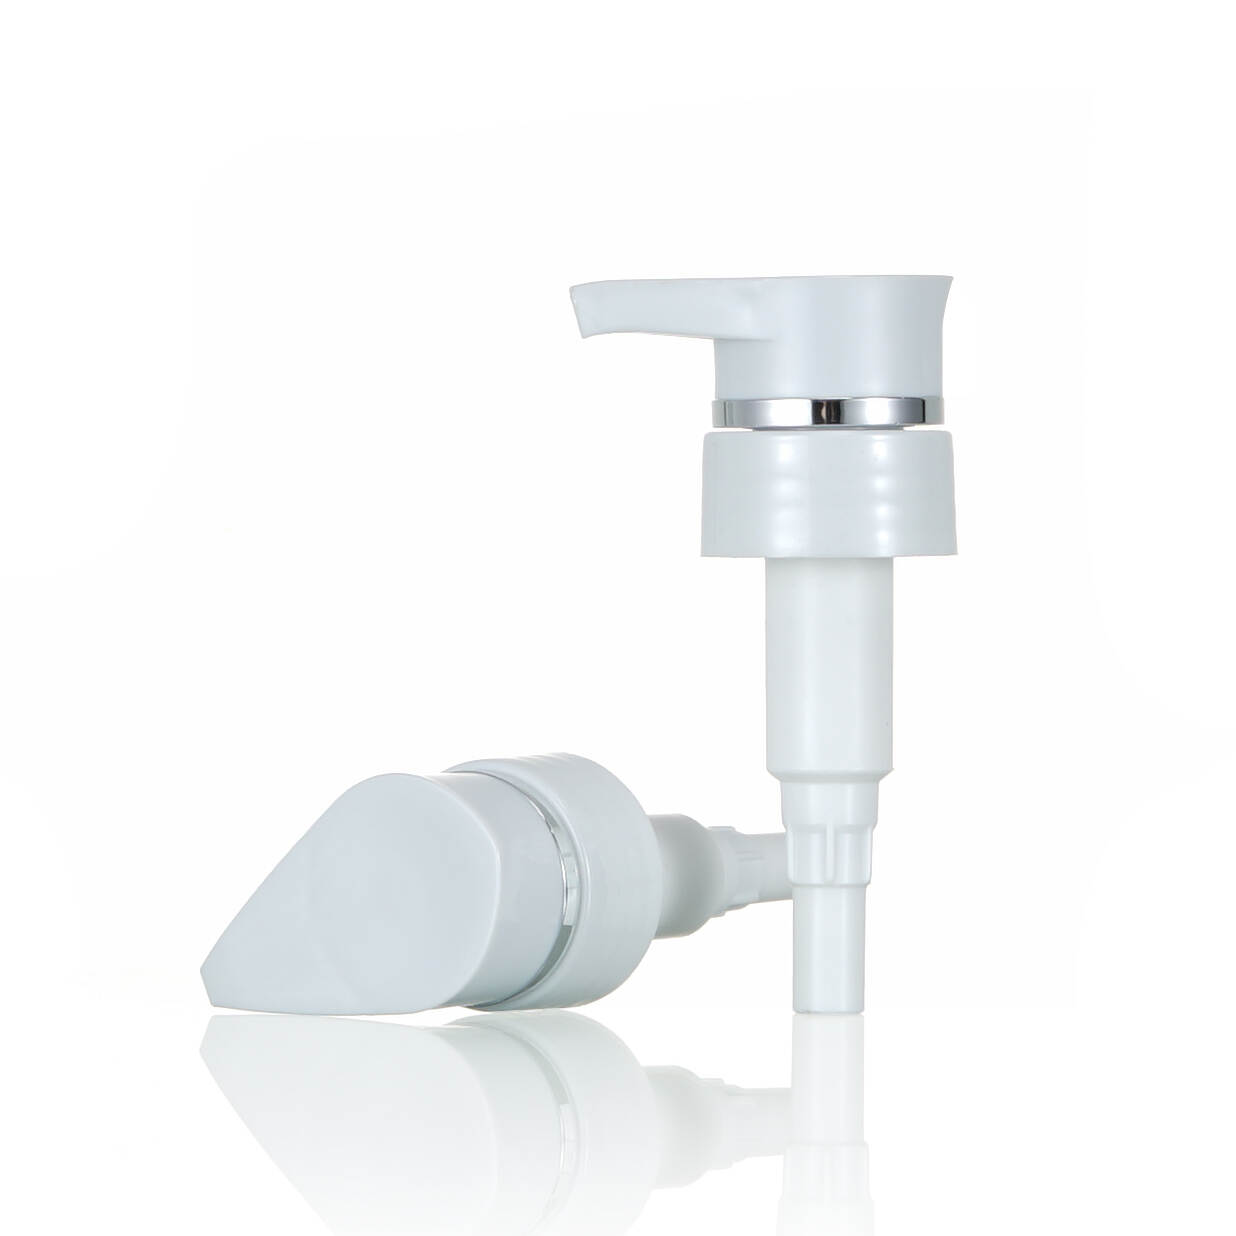
Soap dispenser pumps work on a simple mechanism, where a pump mechanism is attached to a bottle filled with liquid soap. When the pump is pressed, it creates a vacuum that draws the soap up and dispenses it through a nozzle. There are various types of soap dispenser pumps available, including manual pumps, automatic pumps, and foam pumps. When choosing a replacement pump, factors such as compatibility with the existing dispenser, durability, and ease of use should be considered.
II. Signs of a Faulty Replacement Soap Dispenser Pump for Kitchen Sink:
Leaking or Dripping: One of the most common signs of a faulty soap dispenser pump is leaking or dripping. If you notice soap residue or water pooling around the pump or underneath the sink, it indicates a problem with the pump mechanism or seals. Leaks can occur due to worn-out seals, loose connections, or damaged pump components.
Clogging or Blockage: Another sign of a faulty soap dispenser pump is clogging or blockage. If you find that the soap is not dispensing properly or the pump feels stiff when pressed, it may be due to soap residue buildup or a blockage in the pump mechanism. Over time, soap residue can accumulate and harden, obstructing the smooth flow of soap.
Inconsistent Soap Dispensing: If you experience inconsistent soap dispensing, where the pump dispenses varying amounts of soap with each press, it indicates a malfunctioning pump mechanism. This can be caused by a worn-out or misaligned pump mechanism, leading to an inconsistent suction and dispensing action.
Pump Not Working at All: If the soap dispenser pump does not work at all, it may be due to a broken or jammed internal component. This can happen if the pump mechanism is damaged or if there is a blockage that prevents the pump from functioning properly. In such cases, the pump may need to be replaced entirely.
Difficulty in Pressing the Pump: If you find it difficult to press the pump or if it feels stiff or unresponsive, it may indicate a problem with the pump mechanism. This can be caused by a worn-out or misaligned pump mechanism, making it harder to dispense soap smoothly.
Noisy Operation: Unusual noises, such as squeaking or grinding sounds, during the operation of the soap dispenser pump can be a sign of a faulty pump. These noises may indicate that the pump mechanism is not functioning properly or that there is a misalignment or obstruction within the pump.
III. Steps to Replace a Soap Dispenser Pump for Kitchen Sink:
Replacing a soap dispenser pump is a relatively straightforward process that can be done with a few basic tools. Here are the steps to follow:
Gather the necessary tools and materials: Before starting the replacement process, gather the tools and materials you will need. These may include a replacement soap dispenser pump for kitchen sink, pliers, a wrench, and a cloth or towel.
Turn off the water supply: To ensure safety and prevent any accidental water leakage, turn off the water supply to the kitchen sink. This can usually be done by turning off the shut-off valves located under the sink.
Remove the old pump: Depending on the type of soap dispenser pump you have, there are different methods to remove the old pump. If the pump is attached to a bottle, unscrew it counterclockwise to detach it. If the pump is mounted on the sink, use pliers or a wrench to loosen the nut securing the pump and remove it.
Clean the area: Once the old pump is removed, take the opportunity to clean the area around the pump. Use a cloth or towel to wipe away any soap residue or dirt that may have accumulated.
Install the new pump: Take the new soap dispenser pump and ensure it is compatible with your existing dispenser or sink. If necessary, refer to the manufacturer’s instructions for specific installation steps. Attach the pump securely to the bottle or sink, making sure it is tightly fitted.
Test the functionality: After installing the new pump, turn on the water supply and test the functionality of the replacement pump. Press the pump a few times to check if it dispenses soap smoothly and without any leaks. If there are any issues, double-check the installation and make any necessary adjustments.
Adjust soap dispenser settings: If your soap dispenser pump has adjustable settings for soap volume or foam, adjust them according to your preference. Refer to the manufacturer’s instructions for guidance on adjusting the settings.
Clean up and restore water supply: Once you are satisfied with the functionality of the new pump, clean up any excess water or soap residue around the sink area. Turn on the water supply and check for any leaks. If everything looks good, you can resume using the soap dispenser as usual.
IV. Top Replacement Soap Dispenser Pumps for Kitchen Sinks:
When it comes to choosing a replacement soap dispenser pump for kitchen sink, there are several options available in the market. To help you make an informed decision, here are some top-rated replacement pumps:
Delta Faucet RP21908 Soap/Lotion Dispenser Pump:
Features: This pump is designed specifically for Delta soap dispensers and is compatible with most Delta kitchen faucets. It has a durable construction and provides smooth and consistent soap dispensing.
Pros: Easy to install, reliable performance, compatible with Delta soap dispensers.
Cons: Limited compatibility with non-Delta soap dispensers.
Moen 3942SRS Kitchen Soap and Lotion Dispenser Pump:
Features: This pump is designed for Moen soap dispensers and is compatible with most Moen kitchen faucets. It has a sleek stainless steel finish and offers a smooth and efficient soap dispensing experience.
Pros: Easy to install, stylish design, compatible with Moen soap dispensers.
Cons: Limited compatibility with non-Moen soap dispensers.
Kohler K-1895-C Soap/Lotion Dispenser Pump:
Features: This pump is designed for Kohler soap dispensers and is compatible with most Kohler kitchen faucets. It has a sturdy construction and provides reliable soap dispensing.
Pros: Easy to install, durable build, compatible with Kohler soap dispensers.
Cons: Limited compatibility with non-Kohler soap dispensers.
GICASA Brass Kitchen Countertop Soap Dispenser Pump:
Features: This pump is made of solid brass and has a brushed nickel finish, making it both durable and aesthetically pleasing. It is compatible with most standard soap dispensers and offers smooth and consistent soap dispensing.
Pros: High-quality construction, easy to install, compatible with most standard soap dispensers.
Cons: May not fit all non-standard soap dispensers.
JASAI 18 Oz Clear Glass Soap Dispenser Pump:
Features: This pump features a clear glass bottle with a stainless steel pump mechanism. It has a large capacity of 18 ounces and is suitable for both liquid soap and lotion. It is compatible with most standard soap dispensers.
Pros: Stylish design, easy to refill, compatible with most standard soap dispensers.
Cons: Glass bottle may be prone to breakage if not handled carefully.
V. Maintenance Tips for Soap Dispenser Pumps:
Proper maintenance is essential to ensure the longevity and optimal performance of your soap dispenser pump. Here are some tips to help you maintain your soap dispenser pump:
Regular Cleaning: Regularly clean the pump mechanism and nozzle to prevent soap residue buildup. Use mild soap and warm water to clean the pump parts. Avoid using abrasive cleaners or scrub brushes that can damage the pump.
Avoid Harsh Soaps: Use liquid soaps that are specifically designed for soap dispensers. Avoid using thick or abrasive soaps that can clog the pump mechanism. If you prefer using homemade or natural soaps, ensure they have a smooth consistency that can flow easily through the pump.
Clear Clogs: If you notice that the soap dispenser pump is not dispensing soap properly or feels stiff when pressed, it may be due to a clog. To clear the clog, remove the pump mechanism and rinse it with warm water. Use a small brush or toothpick to gently remove any soap residue or debris that may be causing the clog.
Check Seals and Connections: Periodically check the seals and connections of the soap dispenser pump to ensure they are tight and secure. Loose connections or worn-out seals can cause leaks or inconsistent soap dispensing. If you notice any issues, tighten the connections or replace the seals as necessary.
Test the Pump: Regularly test the functionality of the soap dispenser pump by pressing it a few times to ensure smooth and consistent soap dispensing. If you notice any issues such as leaks or inconsistent dispensing, address them promptly to prevent further damage.
Avoid Overfilling: Do not overfill the soap dispenser bottle as it can lead to leaks or clogs. Leave some space at the top of the bottle to allow for proper suction and dispensing of the soap.
Troubleshooting: If you encounter any persistent issues with the soap dispenser pump, refer to the manufacturer’s instructions or contact customer support for troubleshooting guidance. They may be able to provide specific solutions or recommend replacement parts if needed.
VI. DIY Soap Dispenser Pump Repair:
While major repairs or replacements should be done by professionals, there are some minor issues with soap dispenser pumps that you can try to fix yourself. Here is a step-by-step guide for DIY soap dispenser pump repair:
Gather the necessary tools: Before starting the repair, gather the tools you will need. These may include a screwdriver, pliers, a small brush or toothpick, and a cloth or towel.
Identify the problem: Determine the specific issue with the soap dispenser pump. It could be a clog, a loose connection, a worn-out seal, or a malfunctioning pump mechanism.
Clear clogs: If the pump is not dispensing soap properly or feels stiff when pressed, it may be due to a clog. Remove the pump mechanism from the dispenser and rinse it with warm water. Use a small brush or toothpick to gently remove any soap residue or debris that may be causing the clog. Reassemble the pump and test its functionality.
Tighten connections: If the pump is leaking or not dispensing soap consistently, check the connections between the pump and the bottle or sink. Use pliers or a wrench to tighten any loose connections. Be careful not to overtighten, as it may damage the pump or cause leaks.
Replace worn-out seals: If you notice leaks around the pump, it may be due to worn-out seals. Remove the pump mechanism and inspect the seals for any signs of damage or wear. If necessary, replace the seals with new ones that are compatible with your soap dispenser. Reassemble the pump and test for leaks.
Lubricate the pump mechanism: If the pump feels stiff or unresponsive, it may benefit from lubrication. Apply a small amount of food-grade silicone lubricant or petroleum jelly to the moving parts of the pump mechanism. This can help improve the smoothness of the pump action. Be careful not to use excessive lubricant, as it may cause soap to become too thin or affect the pump’s functionality.
Test the pump: After completing the repair, test the functionality of the soap dispenser pump. Press the pump a few times to check if it dispenses soap smoothly and without any leaks. If the issue persists or if the pump is severely damaged, it is recommended to replace the pump entirely.
VII. Frequently Asked Questions (FAQs):
Q1: How often should I clean my soap dispenser pump?
A1: It is recommended to clean your soap dispenser pump every 1-2 months, or more frequently if you notice any issues such as clogs or inconsistent dispensing. Regular cleaning helps prevent soap residue buildup and ensures optimal performance.
Q2: Can I use any type of soap with a soap dispenser pump?
A2: It is best to use liquid soaps that are specifically designed for soap dispensers. Avoid using thick or abrasive soaps that can clog the pump mechanism. If you prefer using homemade or natural soaps, ensure they have a smooth consistency that can flow easily through the pump.
Q3: How do I refill the soap dispenser bottle?
A3: To refill the soap dispenser bottle, unscrew or detach the pump mechanism from the bottle. Pour the liquid soap into the bottle, leaving some space at the top for proper suction and dispensing. Reattach the pump mechanism securely and test the functionality.
Conclusion:
A functional replacement soap dispenser pump for kitchen sink is crucial for maintaining cleanliness and convenience. By understanding the mechanism of soap dispenser pumps, identifying signs of a faulty pump, and following the steps to replace and maintain the pump, users can ensure a smooth and hassle-free experience. Choosing the right replacement pump and performing regular maintenance will help extend the life of the soap dispenser pump, making kitchen tasks more efficient and enjoyable.